Workspace
The workspace is where you manage your organization's resources. The sidebar provides access to Projects, API Keys, Teams, and Billing.
Organization overview
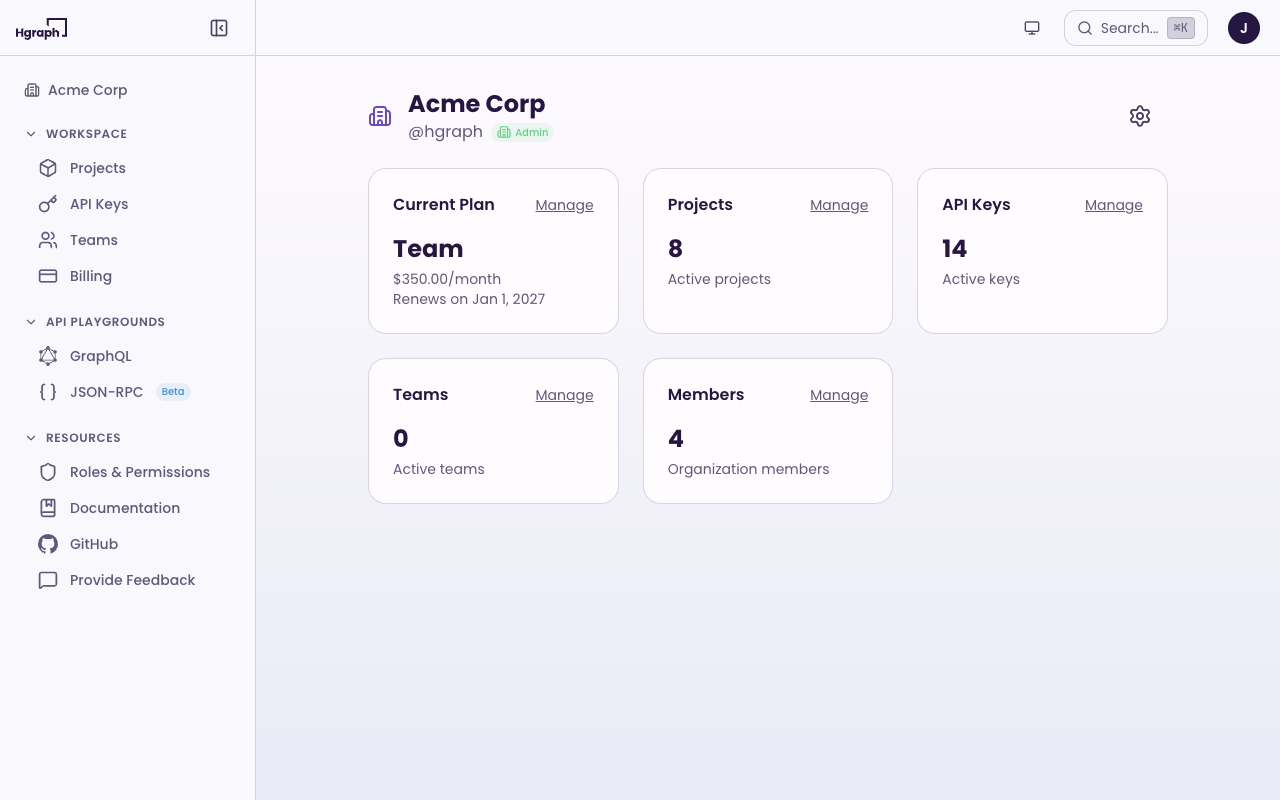
Your organization dashboard shows at a glance:
- Current Plan - your active subscription tier and renewal date
- Projects - number of active projects
- API Keys - number of active keys across all projects
- Teams - number of teams (Team plan and above)
- Members - number of organization members (Team plan and above)
Each card includes a Manage link to navigate directly to that section.
Organization settings (rename, change slug, delete) are accessible via the settings icon on the dashboard. Only Owners and Admins can modify organization settings.
Projects

Projects organize your API keys and usage tracking within an organization. Use separate projects for different environments (production, staging) or different applications.
Create a project
- Go to Projects in the sidebar.
- Click Create Project.
- Enter a name, URL slug, and optional description.
- Click Create.
Project detail
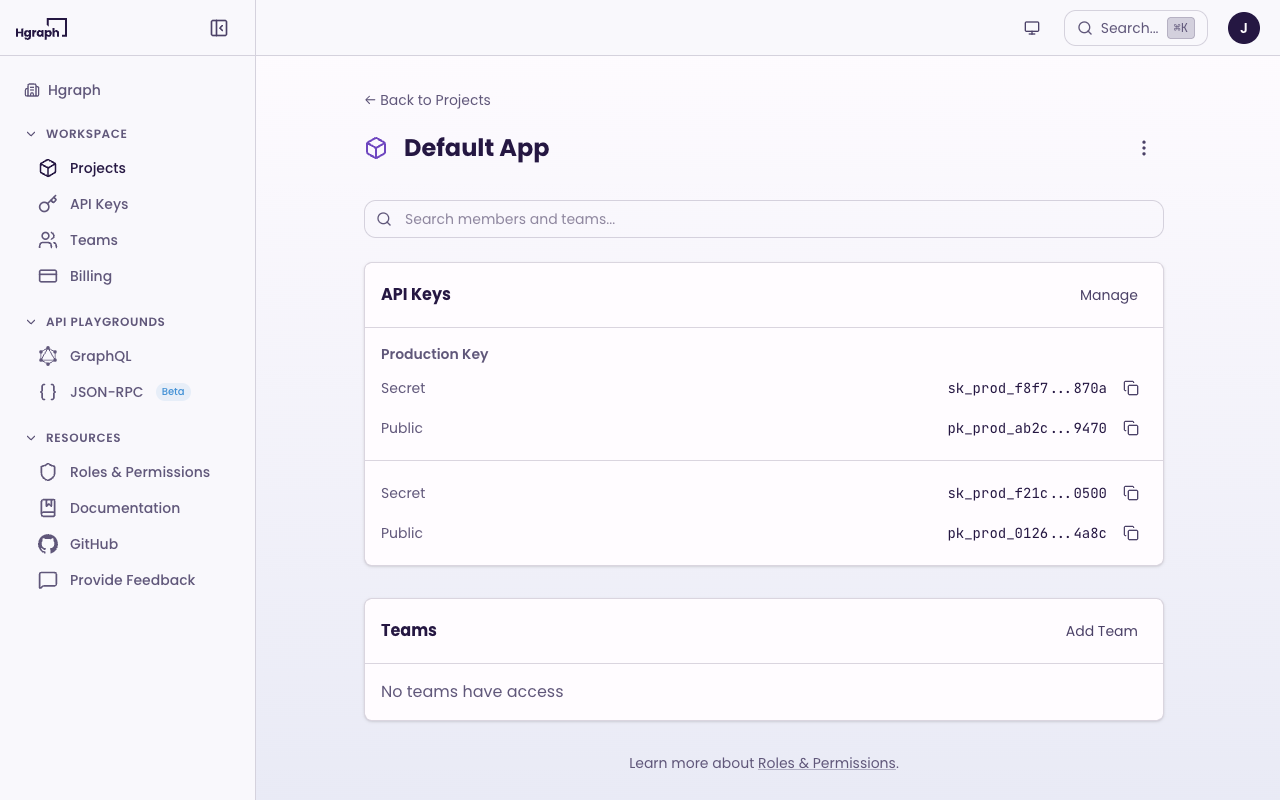
Click a project to view its detail page, where you can:
- Edit the project name and description
- View and manage project members
- View API keys associated with this project
- Delete the project (Owner/Admin only)
Plan limits
| Plan | Projects |
|---|---|
| Free | 1 |
| Essential | 1 |
| Developer | 1 |
| Team | 5 |
| Premium | Unlimited |
API keys
API keys are scoped per-project. The API Keys page groups all keys by their project.
Key types
Each API key pair includes two keys:
- Publishable Key (
pk_prod_) - safe for client-side code, restricted permissions - Secret Key (
sk_prod_) - server-side only, full permissions
Never expose Secret Keys in client-side code, public repositories, or shared documents. Use environment variables to store keys securely. If a Secret Key is compromised, roll it immediately.
Create an API key
- Go to API Keys in the sidebar.
- Click Create API Key.
- Select the project for this key.
- Optionally add a nickname (e.g., "Mobile App", "Backend Service").
- Copy your keys.
Manage keys
- Copy - click to copy a key to your clipboard. Keys are masked in the UI for security.
- Nickname - add or edit a human-readable label for each key.
- Roll - generate a new Secret Key without deleting the API key. The old Secret Key is immediately invalidated.
- Delete - permanently revoke the API key pair.
Plan limits
| Plan | API Keys |
|---|---|
| Free | 1 |
| Essential | 1 |
| Developer | 2 |
| Team | 10 |
| Premium | Unlimited |
Teams
Teams allow groups of members to share access to projects and API keys. Teams are available on the Team plan and above.
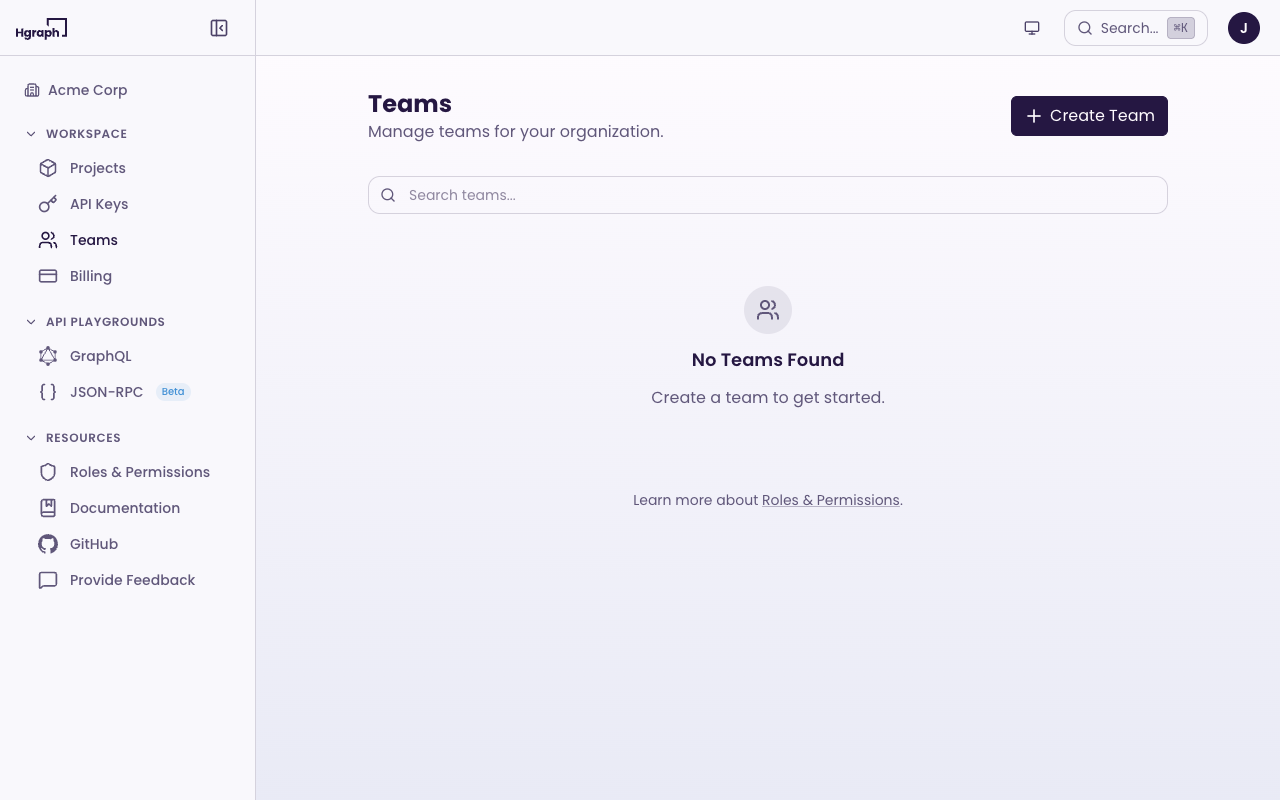
Create a team
- Go to Teams in the sidebar.
- Click Create Team.
- Enter a name, URL slug, and optional description.
- Click Create.
Manage team access
From a team's detail page, you can:
- Add or remove team members
- Grant the team access to specific projects
- Grant the team access to specific API keys
- Set team roles (Admin or Member)
Team members inherit access to all projects and keys granted to the team.
Members
Members are users invited to your organization. Member management is available on the Team plan and above.
Invite a member
- Navigate to Members via the organization overview dashboard.
- Click Invite Member.
- Enter the member's email address.
- Select a role (Admin or Member).
- Click Invite.
The invited user receives an email and can accept the invitation to join your organization.
Organization roles
| Role | Capabilities |
|---|---|
| Owner | Full control. Manage all members, teams, projects. Delete the organization. Assign any role. Transfer ownership. |
| Admin | Add and remove members. Create, edit, and delete teams. Implicit Admin access to every project. |
| Member | Access resources assigned via direct project membership or team membership. Can self-remove from the organization. |
Roles and permissions
The Hgraph App uses a three-level role system: Organization, Project, and Team.
How access works
- Organization Owners and Admins automatically receive Admin access to every project.
- Direct project membership grants access at the assigned role level (Admin or Member).
- Team membership grants access to all projects the team has been given access to.
- When a user has access through multiple paths, the highest role wins.
For example, if a user is an Organization Member, a direct Project Member, and on a Team with Project Admin access, their effective role for that project is Admin (the highest of the three).
The full permissions matrix is available in the app under Resources > Roles & Permissions.
Billing
Billing is accessible to Owners and Admins only.
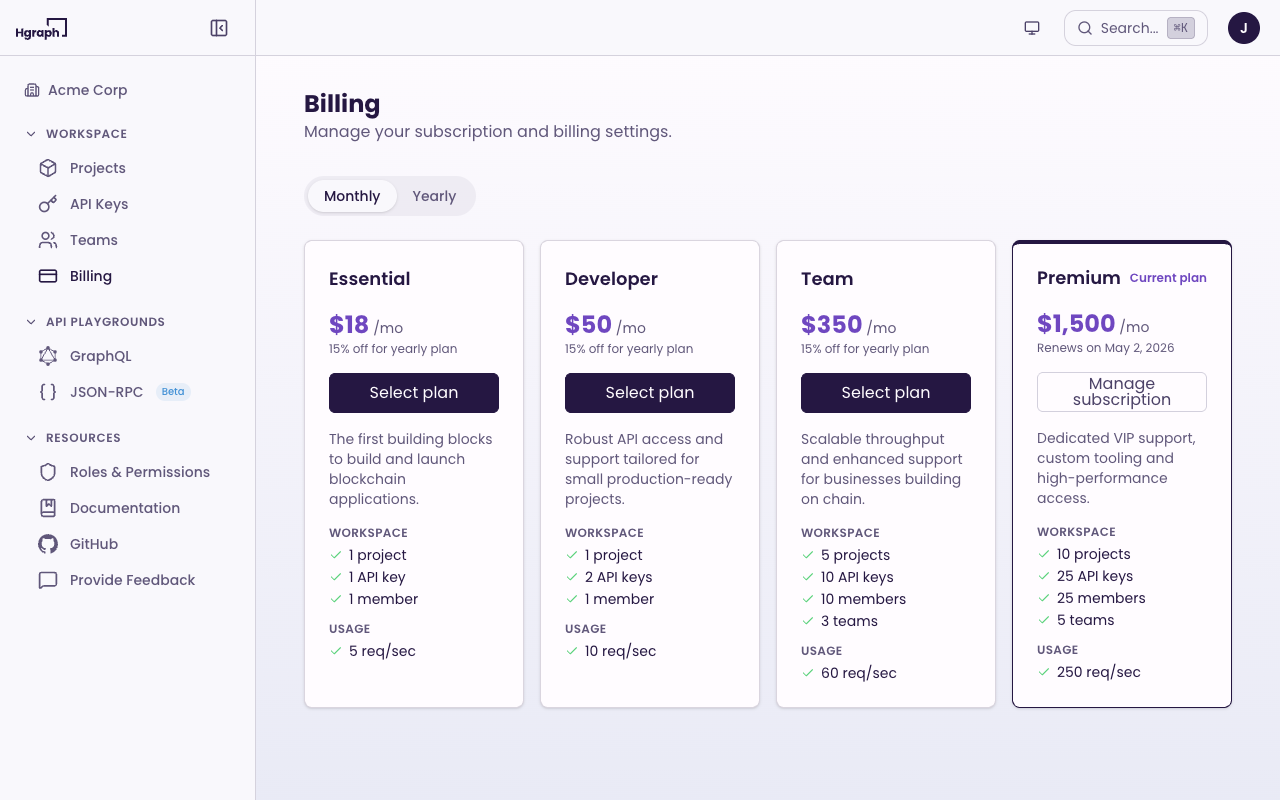
View your plan
Go to Billing in the sidebar to see your current plan, billing period, and renewal date.
Upgrade or change your plan
- Go to Billing in the sidebar.
- Toggle between Monthly and Yearly billing (annual plans save 15%).
- Select a plan.
- Complete checkout via Stripe.
Manage billing
Click Manage Billing to open the Stripe customer portal, where you can:
- Update payment methods
- View invoices
- Cancel your subscription
Changes take effect on your next billing cycle. See Pricing for a full plan comparison.